May 31, 2012

There's no monster in this closet!

Usually, the more mundane and unnoticed rooms in the house tend to get avoided when it comes to organizing, decorating, or cleaning. Seeing as I'm the gotta-be-different compulsive cleaner (I'm seeking professional help, cross my heart!), those areas are the first ones I attack. The closets are my favorite parts in any house and I love the potential for storage and order. When we moved into this house, I refused to put anything in the closets until I had a chance to purge, sort, and decide how I wanted to organize it first. I was so afraid that stuff would end up shoved in closets and I would never.ever.again.amen. know what lurked behind each door. My motto is 'every item has a home and if it doesn't - make one!'. So instead, we had haphazardly stacked piles and boxes in front of all the closets until I had time to go through everything. And lemme tell you... with an 8 month old... time sort of disappears somewhere between the Cheerios and Goodnight Moon. Thankfully I got to all the rooms within a month or so. I only drove my husband partially crazy... *grin*

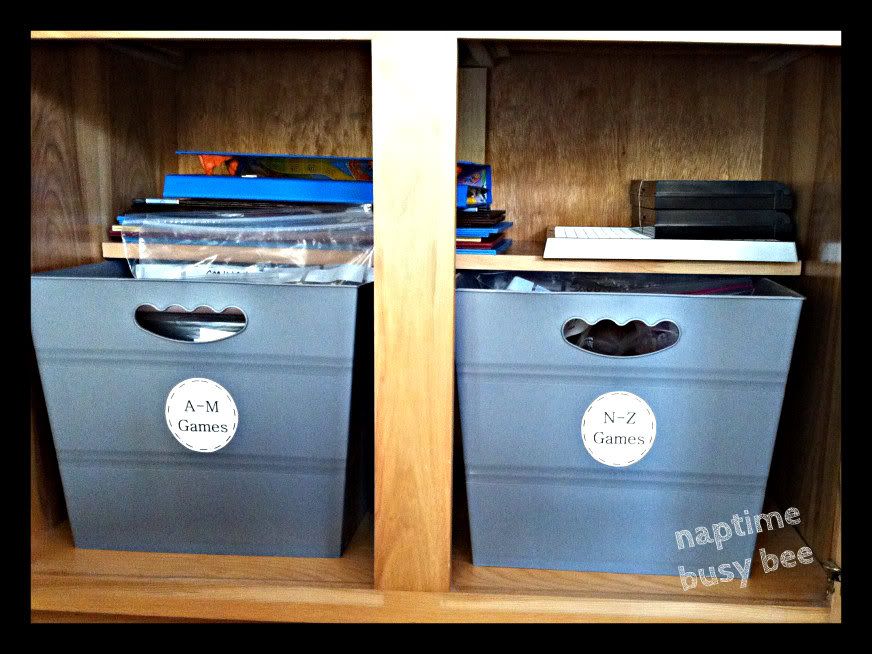
I like to organize things in a way that is easily accessible, not difficult to clean under/around, portable, and attractive. It's easiest for me to accomplish this by using storage containers of some sort. That way I can move them if I need to and I can see a container more easily than a random box of band-aids thrown on a shelf somewhere. The Dollar Tree is my f.a.v.o.r.i.t.e. place to find small storage containers and, at $1 a pop, it's quite affordable too. (No, the Dollar Tree didn't pay me to say that. I am just.that.dedicated. Tomorrow, I'm buying stock. Or diapers. Haven't decided which one yet... )
 
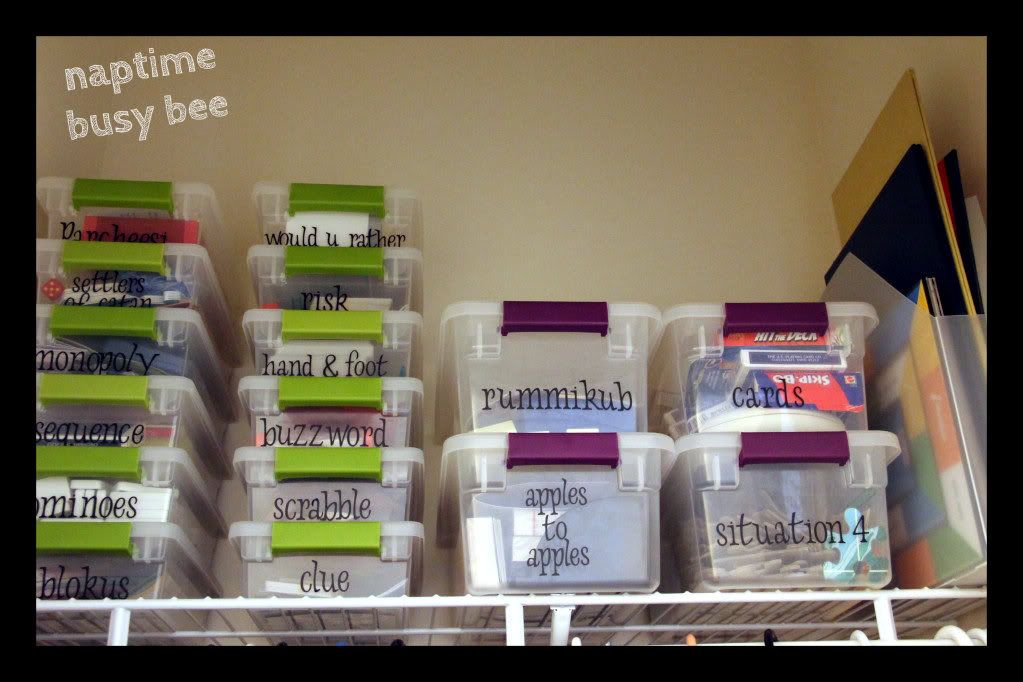
Want to see a closet in my house? Here ya go! This is the Master Bath Linen Closet:


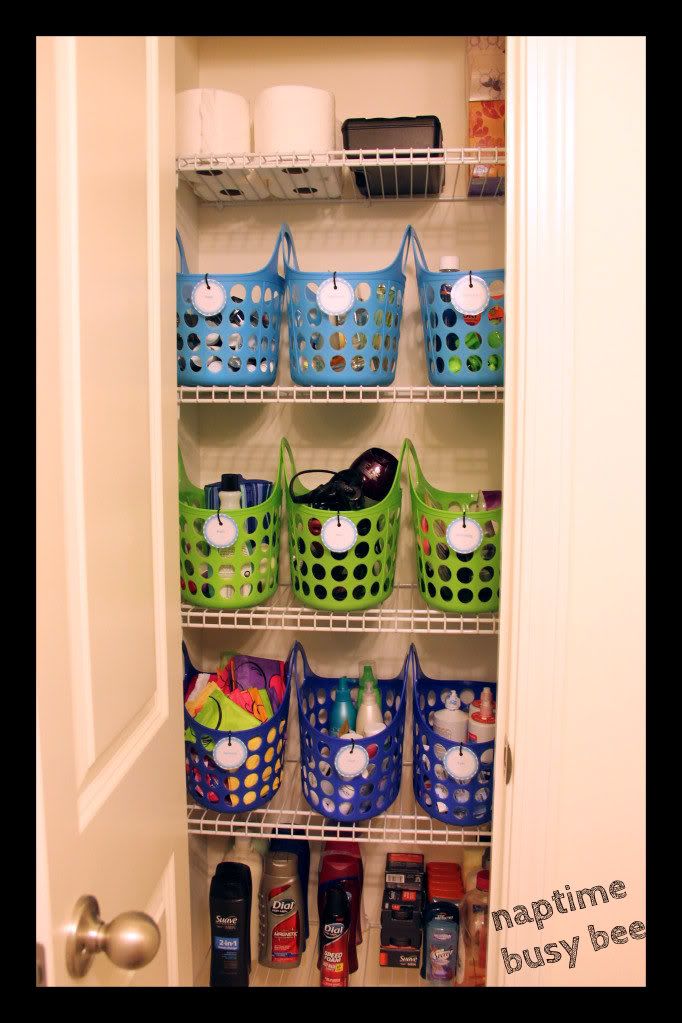
The nice thing about the baskets is that it makes it easier to store small items without having them fall through the slots on the shelves. It's also much easier to find a specific item in a narrow closet. There is something so freeing about having all your stuff in order. Plus it just makes me so happy to open the door and see fun colors. Hi, I'm Kelsey and I'm a nerd.


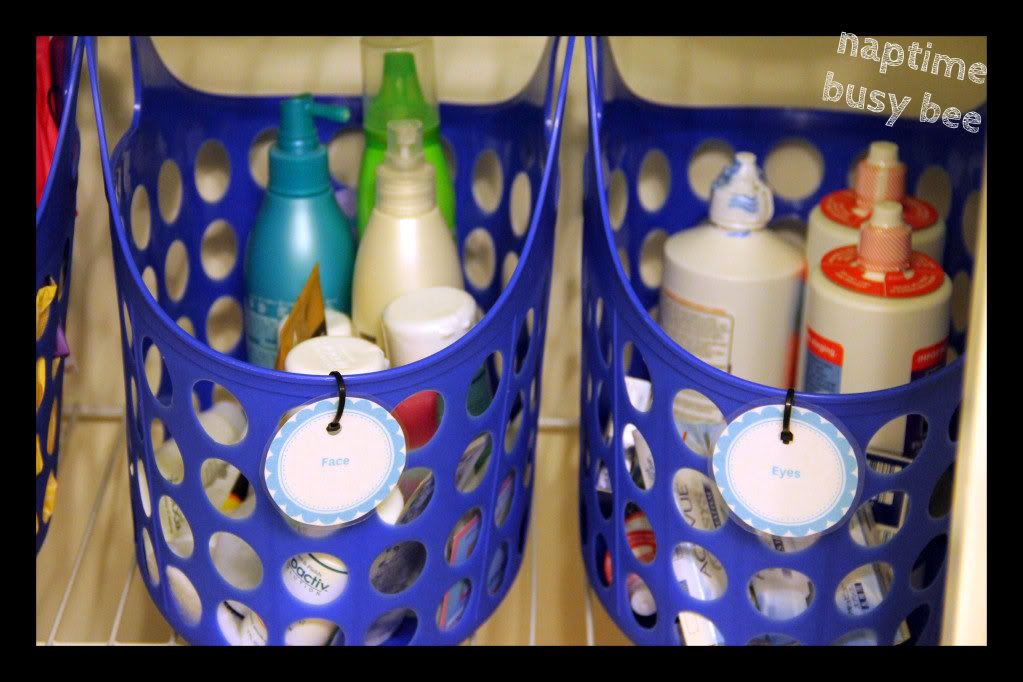
Everything fits really well in the baskets. I haven't 'overflowed' one or even come close. All the baskets are categorized such as 'teeth', 'hair', 'eyes', 'face', etc. And it is so handy to be able to pull the whole basket down if needed. When I'm done with a long luxurious bubble bath and I'm sitting on the couch watching reality TV and eating bon-bons, it's really handy to pull out the 'nails' basket for a pedicure on the go.

..

....

......

.........

(You realize that whole scenario was hypothetical, right? I have an 8 MONTH OLD. I don't even remember what lipstick looks like, much less nail polish. I tell my husband I'm living a minimalistic lifestyle and he should be happy I at least shave my armpits. duh)


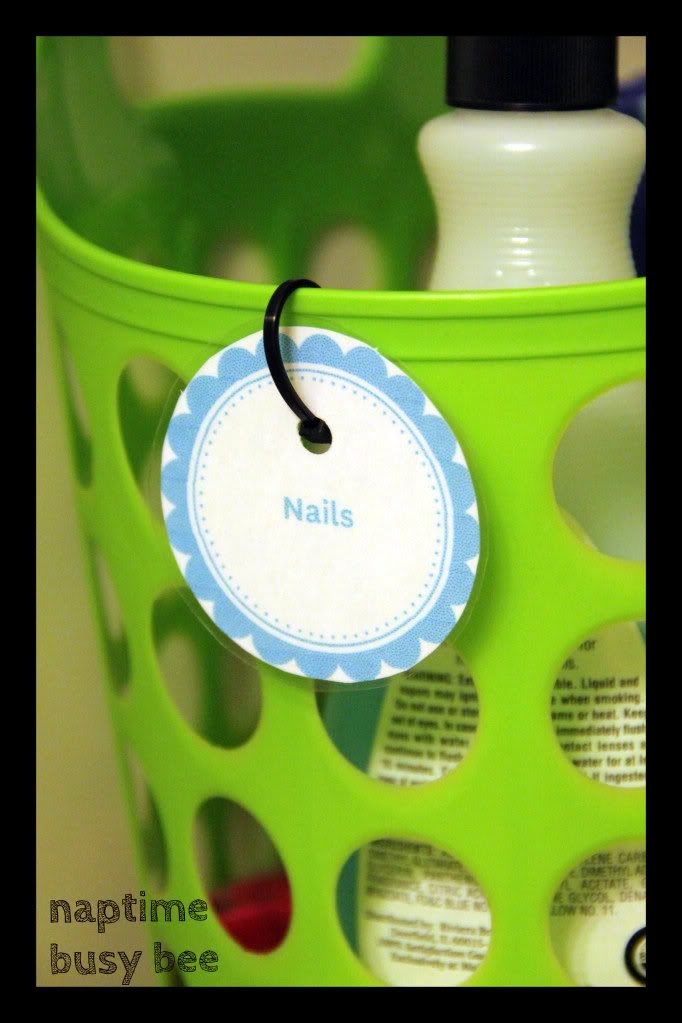
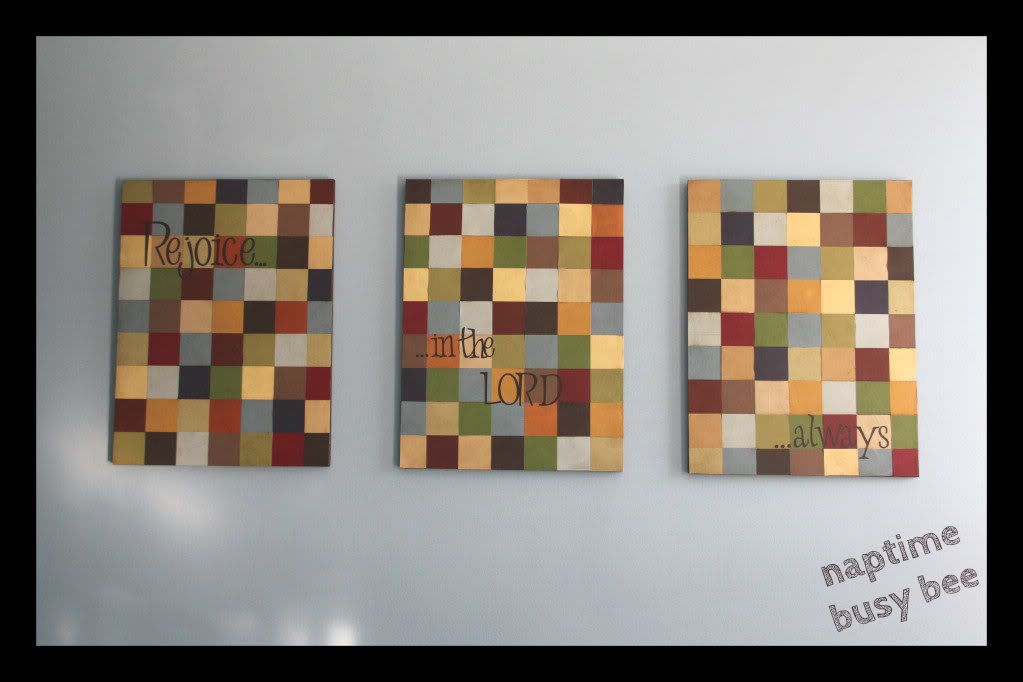
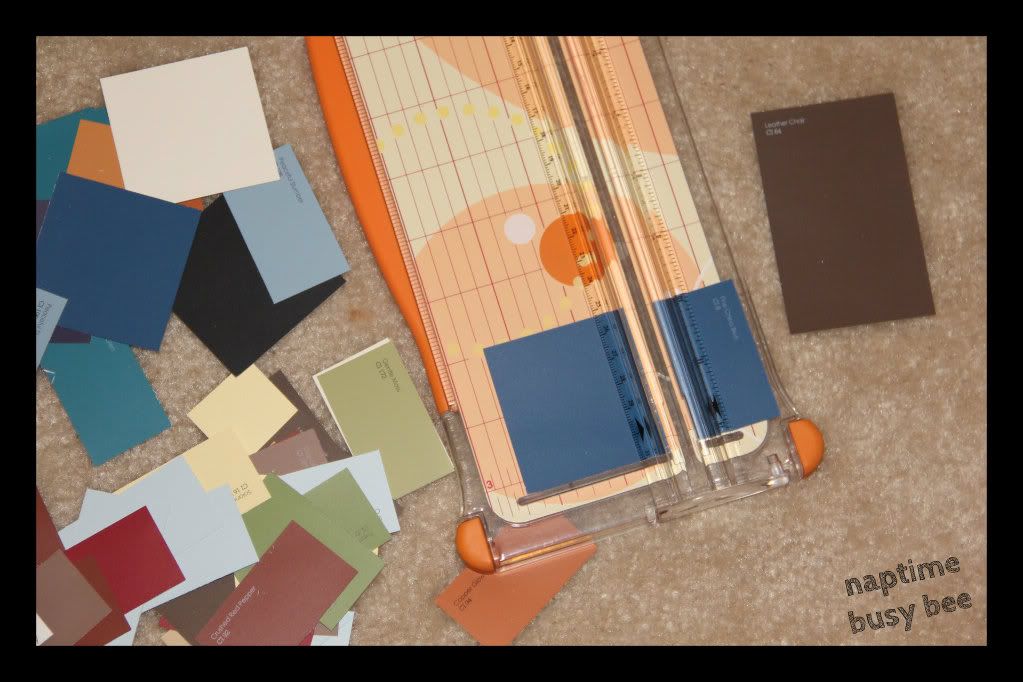
Usually I make my own labels, however, I tried some free printables with these and just customized the words. (I can't remember where I got the printable. Maybe bhg.com?) And the baskets, of course, were from The Dollar Tree. (be still, my heart)


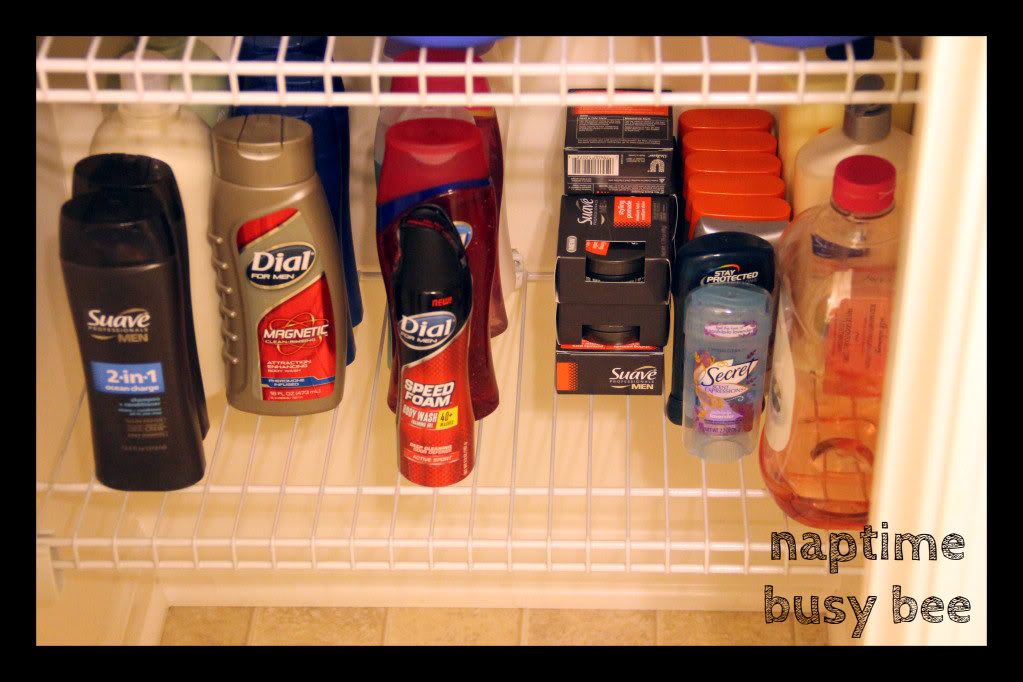
If you noticed in the first picture, I don't have baskets on the bottom or top shelves. I use the bottom shelf for our stocked up soap, lotion, shampoo, body wash, and other bottles. Sometimes the shelf is full, sometimes it's more empty, it just depends on how the sales and coupons are at the time. (I don't believe in spending more than about $0.50 for a bottle of body wash or shampoo so I have to be patient sometimes... this shelf holds us over until a better deal comes along.) The top shelf is where we store bulk tp and kleenex. You'll also notice that the floor is clear. I REALLY don't like to store stuff on the floor unless I am absolutely out of room. If I need more space at some point, I'll put a bin on the floor to hold the tp. However, I find that when I have everything organized it takes up much less room than if it's all just floating freely in the closet abyss. 

So that's our linen closet! Sometime I'll show your our laundry closet. It makes me all giddy inside. 


May 29, 2012

Tasty Tuesday: Garlic Herb Bread

Raise your hand if you love carbs! *both hands waving wildly* If heaven were on earth it would look like a bakery. (Dr. Adkins and I will never be BFF's. I'm ok with that.) I believe that every balanced meal has a meat, two vegetables, a fruit, and a floury, yeasty, crusty, crumby, CARB! Oh yeah, and a dessert.... but that's a given.

Sometimes I'm looking for bread to go with my meal but I'm tired of frozen dinner rolls. This bread is so savory, easy to make, and goes great with soup, butter, salad, butter, grilled meals, oh... and butter. My FAVORITE way to eat this bread leftover is to take a slice and put a little butter on it (figures, right?), spread some grated cheese of your choice over top, and sprinkle with a little garlic salt. Then broil it until the cheese melts. YUM!

Garlic Herb Bread


Ingredients: 
4 to 4-1/2 cups all-purpose flour
3 tablespoons sugar
2 packages quick-rise yeast
1-1/2 teaspoons salt
3/4 teaspoon each dried marjoram, thyme, parsley flakes, basil and oregano
3/4 teaspoon dried rosemary, crushed
3/4 teaspoon rubbed sage
3/4 cup milk
1/2 cup water
1/4 cup butter, cubed
1 egg

In a large bowl, combine 1-1/2 cups flour, sugar, yeast, salt and herbs. In a saucepan, heat the milk, water and butter until warm but not boiling. Add to dry ingredients; beat just until moistened. Add egg and beat until smooth. Stir in enough remaining flour to form a soft dough. Turn onto a floured surface; knead until smooth and elastic, about 4-6 minutes (I just used the dough hook on my kitchen aid for 4 minutes). Cover and let rest for 10 minutes. To Braid: Divide dough into thirds. Shape each portion into a 15-in. rope. Place ropes on a flat surface and braid; pinch ends to seal and tuck under. Place in a large loaf pan, cover; let rise until doubled, about 20 minutes. Bake at 375° for 25-30 minutes or until golden brown. Remove from pan to a wire rack to cool. Makes 1 large loaf

Source: Taste of Home

May 24, 2012

DIY Mosaic Art

Sometimes as a stay at home mom I have days where I think I just need a little bit of excitement in my life. Because, of course, cleaning up a gallon of spilled olive oil out of my cabinet, rerolling half a mile of TP, and pulling cheerios out of little nostrils just doesn't quite cut it for me. Naturally, I decided on theft as a suitable hobby. Did you know that hardware stores tend to frown upon people who take massive amounts of free paint chips? Oh yes, if you take more than threepointfive per person they get a little snarky. Granted, there is a bit of a difference between taking four samples and taking 400. Did I just say that out loud? Shoot. 

Three basic rules for paint chip hijacking:
1.) Carry a large bag. Made this mistake on my first time. Ladies jean pockets just don't hold much and the butt bulge is not an attractive look.
2.) Act convincing. Thank you, highschool drama class. It takes quite a bit of skill to chose a swatch, remove 10 of them, look at it as if it might work, and then grab another color to 'compare' all the while nodding and noticeably pondering each color. When the stack gets too big for your hand, shove it in the bag. See rule one
3.) Mix it up. If you think you've got a shadow, grab a few more chips and then go walk down say, the plumbing aisle, until a new person inhabits the paint island. Rinse and repeat.

I'm so not a boring stay at home mom. boo  yeah. 

Did I just say boo yeah on the internet? hello 1999. 

I'm so excited to show you what I actually DID with all the paint chips! (wait, there was really a point to this post?!) I give you... Paint Chip Mosaic Artwork!


There are a bazillion different versions of this which I found on pinterest. I used the tutorial from Hope Studios to get the main idea and then just worked with what I had. Since the wall I had in mind for it was pretty long I decided I wanted to make three coordinating pieces measuring roughly 15"x21" (that's what I had on hand). But you can literally make this project in as many pieces and as many sizes as you feel like.

To make your own paint chip mosaic, you'll need:
Paint chips (differing amounts depending on the size)
A piece of plywood or other light, cheap wood cut to size (they will cut things for you at the hardware stores - for realz!)
Dark wood stain
MATTE Modge Podge (it has a purple label)
Spray Adhesive
Paper cutter or scissors

The first thing you'll want to do is use the wood stain (or spray paint) along the exposed edges of your board. This will look a little like a frame for your artwork so you don't want nasty ol' plywood showing. Gross.

The next step depends on the size paint chips you picked up because you'll want to end up with square paint chips. Mine were rectangular and I wanted to chop the lettering off. I used my handy paper cutter (you don't have one of these?! Go shopping. You'll thank me later when you use it everydayofyourlife) and made them all into nice little squares.


This next part could possibly give you heart palpitations and sweaty palms if you are even a little bit OCD like me. It's a curse, I tell ya. Anyway, you need to lay your chips out in the most random, non-matching order as possible. Seriously - TRY NOT TO MAKE IT LOOK PERFECT. When you finally finish that, pat yourself on the back and go alphabetize something. (oh, that's just me? hm)

This part is fun! By now you should have a completely dry board and a lovely arrangement of paint chips. Take your handy spray adhesive and spray the paint chips then press them onto your board. Trim the pieces for the edges last.

When you've got everything glued down, step back and admire your work. Nice, huh? Now it's time for a layer of Modge Podge. Get it as streaky and thick as you can. It will help give it some texture. Let that dry for awhile... I just left mine overnight.


After a good two coats of Modge Podge, it's time to stain! This is the part where I almost ran shrieking in terror. I liked my pretty chip board and was afraid I'd ruin it. Don't stop! It's totally worth it. Just take your stain and a paper towel and slop it on. Go trim your toenails. Come back after 15 minutes or so and wipe the stain off. Repeat as necessary until you get your desired amount of vintage-y-ness. (yes, I just made up that word. I'm so cool)


After the stain has time to get good and dry, go ahead and give it one more coat of Modge Podge. Modge Podge makes the world go round. Let that dry and Ta-Da! Lookin' good!

Since I'm such a wordy person, I couldn't leave it alone and had to add a phrase with vinyl that I cut on my Cricut. (It is not hard to see the writing in person - I just have trouble taking pictures, apparently) I love that I can peel the letters off and write something different anytime I want! Changeisalwaysfun


Isn't it cool? And since I had all the equipment laying around, it cost me nothing more than the gas to get to the hardware store. No excuses now, go make your own!


May 22, 2012

Tasty Tuesday: Lemon Pepper Chicken

Welcome to Tasty Tuesdays! Every Tuesday you'll see a recipe posted - because, well, good food just makes the world go round. I'm excited about this first recipe because, well, I kind of created it off some ideas from other recipes. (thank you, thankyouvurymuuuch) That will be quite a RARE thing you'll learn because I don't experiment well in the kitchen. Give me a recipe and I'll be your Betty Crocker. No recipe... let's just say... I'm sure my high school chemistry teacher would probably die from embarrassment at the random flames, chemical burns, and combustion reactions in my kitchen. But don't worry! This recipe is a real belly-pleaser - no stomach pumping required!

Lemon Pepper Chicken


Ingredients:
2-3 Chicken Breasts, thawed
2 green peppers
1 red onion

Marinade:
4 Tbsps olive oil
juice of 1 lemon
5 Tbsp. soy sauce
1 ½ tsp. minced garlic
½ tsp. sugar
½ tsp. salt
½ tsp pepper

Cut the chicken into 1-2 inch chunks. Throw them in a ziplock bag. Combine the marinade ingredients and mix well.  Pour the marinade into the chicken bag, zip, and shake to coat then put in the refrigerator. It is best if you let it marinate all day or overnight. Chop up the red onion and green peppers. Place them in a ziplock and throw in the fridge. Now you’re done until whenever you decide to eat! When it’s dinnertime, throw everything in a wok, grill pan, or large skillet and stir often to avoid burning. When the chicken is cooked through (no pink – about 10 minutes) and the veggies are starting to soften you know it’s ready. Serve over flavored couscous (our favorite is the lemon thyme couscous from Target). Enjoy!

May 21, 2012

Game Closet Makeover

We love to play games over here. Of course, we haven't quite entered the world of unending Candy Land or Chutes and Ladders until you turn blue.in.the.face but in the land of grown-up games we have a lot of fun. Unfortunately, our game closet looked like the cardboard monster attacked. Missing pieces, crushed cardboard boxes, and having to wear a hard hat every time I went to grab Skip-Bo finally pushed my OCD button. I am so.so.SO happy with the closet now. Everything labeled nicely and in it's place... makes a girl sleep well at night, ya know?


There are probably 50 gajillion ways to organize games but here is what I did. I first pulled down all my games and figured out how many I had. Then I went to Target (my home away from hooooome! Who's with me?!) and found these awesome storage bins. 
I picked out two sizes because I had a few games that needed a slightly bigger box. My end goal was a more compact storage system so I didn't want to get all large boxes. I emptied all the pieces into the pretty boxes and got rid of a massive amount of trashed cardboard boxes. Huzzah! (Ok, I admit, I had a slight panic attack when I threw out the first box. What if I needed that?! Someday in 80 years that might be a collectable! What if I need to look at the picture of the sterotypical family of 4 with one boy and one girl dressed in clean matching clothes and eating tofu for dinner while playing Scrabble?! ........ I got over it pretty quick...) For the board games, I took all the boards and put them in a plastic magazine holder that sits next to the boxes.


I always planned to make labeled tabs for each board so that we could easily grab what we needed, however, I never got around to it. We've been able to find the boards we need pretty quickly without the tabs but I think it would be nice to have them labeled. Speaking of labels, see all those cute ones on the game boxes? Have I mentioned I love my Cricut? No? ILOVEMYCRICUT!

Anyhoo. 

That's our game closet! I love love love how it works for us in our space. But you have to find what works for you the best. I did something similar to this at my mom's house but they had SO many games it would have cost a small fortune to buy that many plastic bins. Instead we found two large bins and organized the bags in large Ziplock bags. She stores her games in a cabinet so the boards are kept on the small shelf with the games below. When we labeled all the bags we used a different color marker to distinguish the games with boards

When everything is labeled, organized, and has a 'home' I just feel all giddy inside. Sigh. My husband says I'm hard to please sometimes. Maybe if he would just color code his ties and alphabetize his wallet?

May 18, 2012

Let's face it - I have ten million things I want to do in my head but only a short period of time to actually do them... naptime! thankgoodnessitcomeseveryday. I'm excited to use this blog to share with you all the stuff that keeps me busy. You'll see everything from D.I.Y. projects, yummy (and usually butter laden) recipes, craft ideas, my obsession with painting and diet coke, and an occasional funny scene from my life as a busy momma-bee!

Thanks for stopping by!