
Three basic rules for paint chip hijacking:
1.) Carry a large bag. Made this mistake on my first time. Ladies jean pockets just don't hold much and the butt bulge is not an attractive look.
2.) Act convincing. Thank you, highschool drama class. It takes quite a bit of skill to chose a swatch, remove 10 of them, look at it as if it might work, and then grab another color to 'compare' all the while nodding and noticeably pondering each color. When the stack gets too big for your hand, shove it in the bag. See rule one
3.) Mix it up. If you think you've got a shadow, grab a few more chips and then go walk down say, the plumbing aisle, until a new person inhabits the paint island. Rinse and repeat.
I'm so not a boring stay at home mom. boo yeah.
Did I just say boo yeah on the internet? hello 1999.
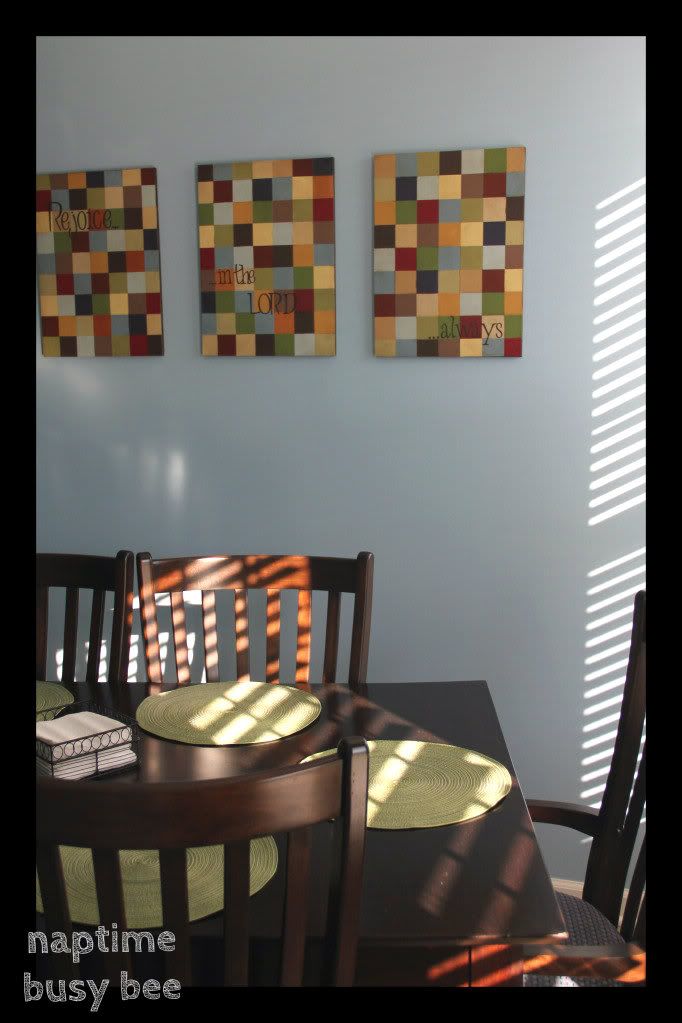
I'm so excited to show you what I actually DID with all the paint chips! (wait, there was really a point to this post?!) I give you... Paint Chip Mosaic Artwork!
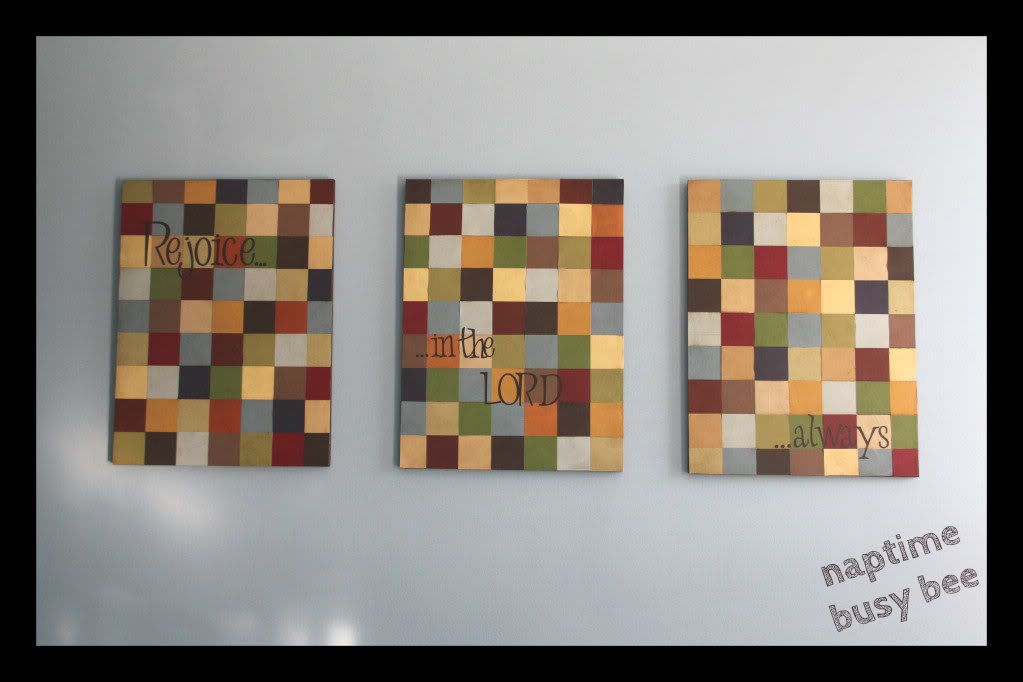
There are a bazillion different versions of this which I found on pinterest. I used the tutorial from Hope Studios to get the main idea and then just worked with what I had. Since the wall I had in mind for it was pretty long I decided I wanted to make three coordinating pieces measuring roughly 15"x21" (that's what I had on hand). But you can literally make this project in as many pieces and as many sizes as you feel like.
To make your own paint chip mosaic, you'll need:
Paint chips (differing amounts depending on the size)
A piece of plywood or other light, cheap wood cut to size (they will cut things for you at the hardware stores - for realz!)
Dark wood stain
MATTE Modge Podge (it has a purple label)
Spray Adhesive
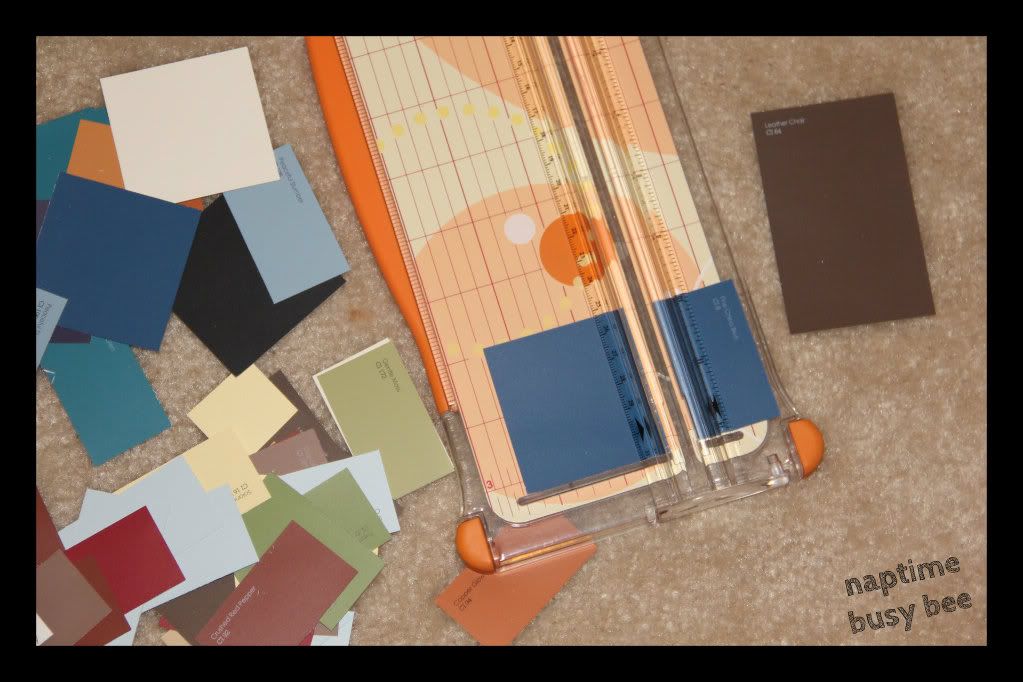
Paper cutter or scissors
The first thing you'll want to do is use the wood stain (or spray paint) along the exposed edges of your board. This will look a little like a frame for your artwork so you don't want nasty ol' plywood showing. Gross.
The next step depends on the size paint chips you picked up because you'll want to end up with square paint chips. Mine were rectangular and I wanted to chop the lettering off. I used my handy paper cutter (you don't have one of these?! Go shopping. You'll thank me later when you use it everydayofyourlife) and made them all into nice little squares.
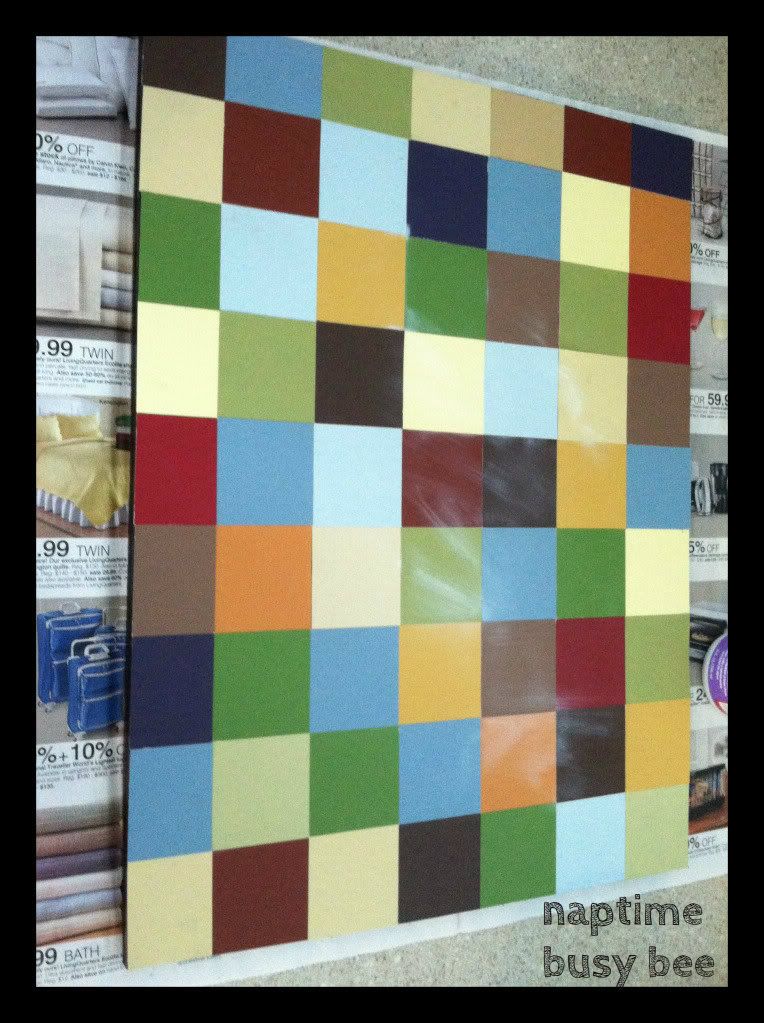
This next part could possibly give you heart palpitations and sweaty palms if you are even a little bit OCD like me. It's a curse, I tell ya. Anyway, you need to lay your chips out in the most random, non-matching order as possible. Seriously - TRY NOT TO MAKE IT LOOK PERFECT. When you finally finish that, pat yourself on the back and go alphabetize something. (oh, that's just me? hm)
This part is fun! By now you should have a completely dry board and a lovely arrangement of paint chips. Take your handy spray adhesive and spray the paint chips then press them onto your board. Trim the pieces for the edges last.
When you've got everything glued down, step back and admire your work. Nice, huh? Now it's time for a layer of Modge Podge. Get it as streaky and thick as you can. It will help give it some texture. Let that dry for awhile... I just left mine overnight.
After a good two coats of Modge Podge, it's time to stain! This is the part where I almost ran shrieking in terror. I liked my pretty chip board and was afraid I'd ruin it. Don't stop! It's totally worth it. Just take your stain and a paper towel and slop it on. Go trim your toenails. Come back after 15 minutes or so and wipe the stain off. Repeat as necessary until you get your desired amount of vintage-y-ness. (yes, I just made up that word. I'm so cool)
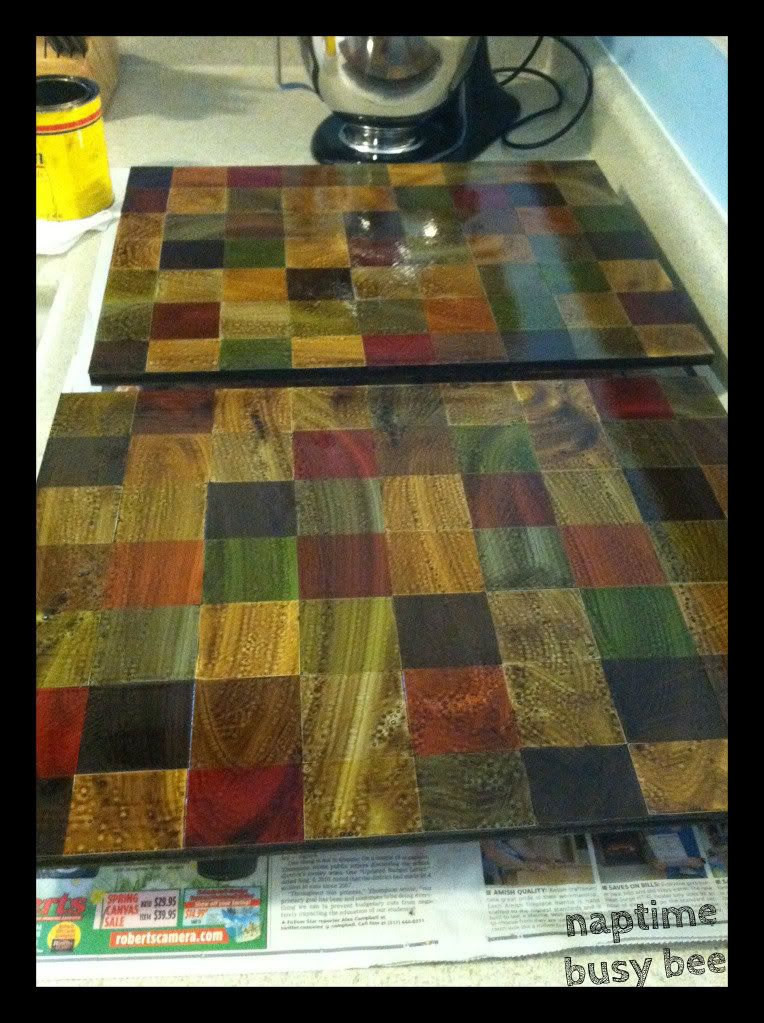
After the stain has time to get good and dry, go ahead and give it one more coat of Modge Podge. Modge Podge makes the world go round. Let that dry and Ta-Da! Lookin' good!
Since I'm such a wordy person, I couldn't leave it alone and had to add a phrase with vinyl that I cut on my Cricut. (It is not hard to see the writing in person - I just have trouble taking pictures, apparently) I love that I can peel the letters off and write something different anytime I want! Changeisalwaysfun
Isn't it cool? And since I had all the equipment laying around, it cost me nothing more than the gas to get to the hardware store. No excuses now, go make your own!


No comments:
Post a Comment