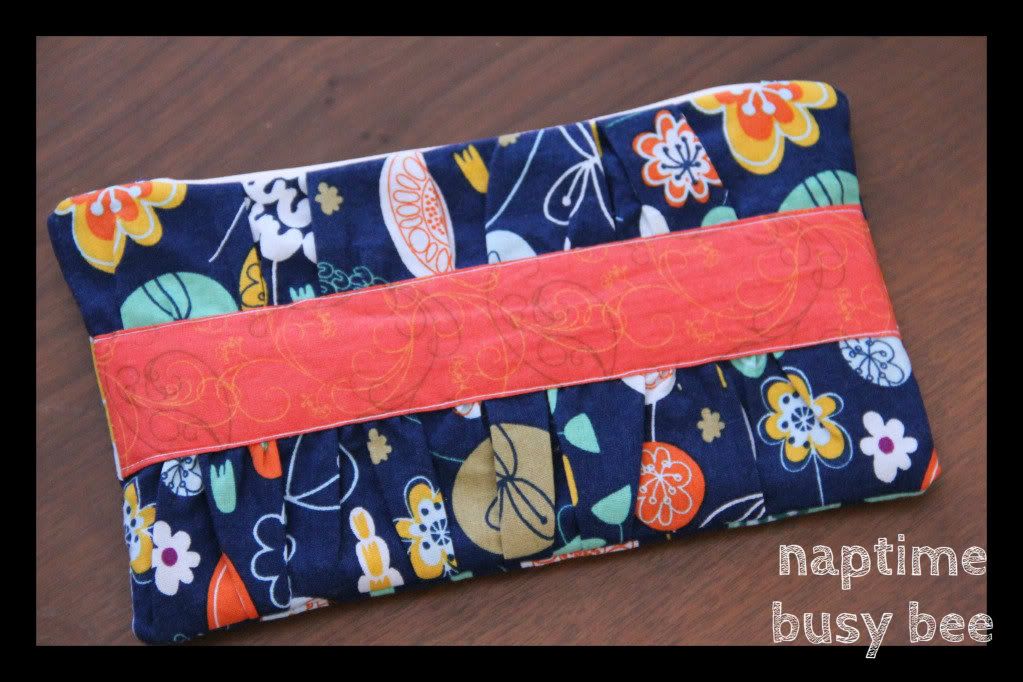
I found this tutorial over at NoodleHead and thought it was so adorable I just had to try it. I'm excited to contain all my essentials on our upcoming vacation in such a cutesy clutch!
**Note: I am not a hand model. I am in desperate need of a mani. The end**
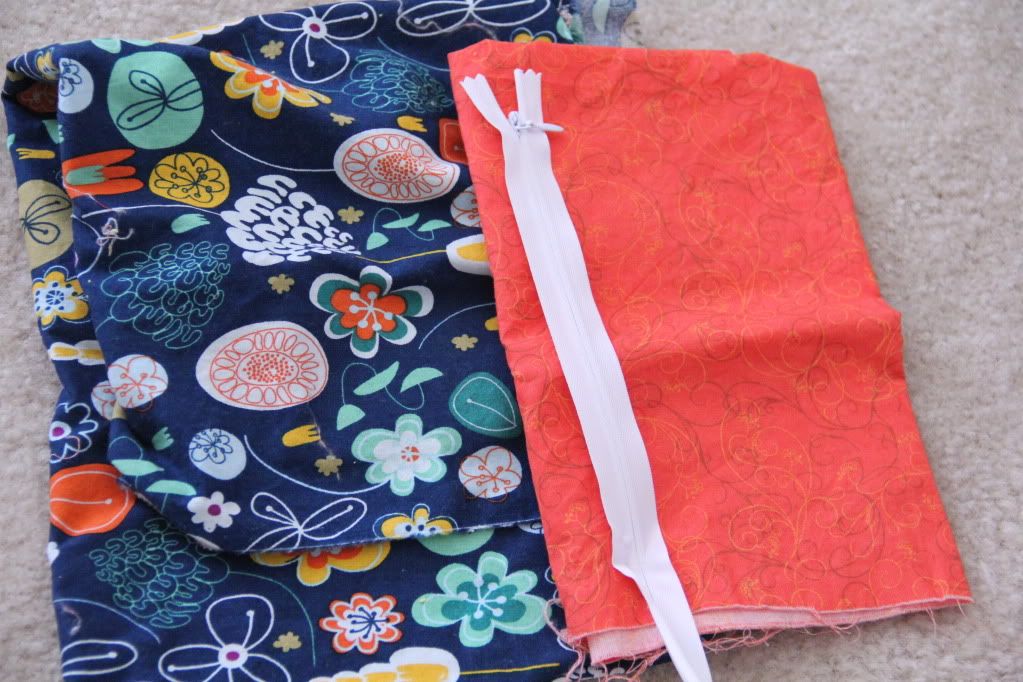
First things first - pick out some fabric! (Isn't this the best part? I heart fabric!) You'll need the following:
- 1/4 yard each of two coordinating fabrics (you'll definitely have scraps leftover)
- 8" zipper (you can always purchase a longer zipper and shorten it, just follow the directions on the package
- medium weight fusible interfacing
Next you'll want to cut all your pieces. This is the most time consuming part of the whole project! Cut the following:
Cutting the pieces:
For the main exterior, cut two pieces, one 5.5" tall by 9" wide, and one 5.5" tall by 13" wide (this will be the gathered front)
Pieces of medium weight fusible interfacing for exterior pieces of clutch: (2) 5.5" tall by 9" wide
For the front band, cut one piece 4" tall by 9" wide
For the lining, cut two pieces 5.5" tall by 9" wide
For the zipper end covers: two pieces 1.5" tall by 2.5" wide.
Optional Parts:
For the card holders, cut one piece 7" tall by 9" wide (apply interfacing to half, you'll need at 3.5" x 9" piece)
Now you're ready to sew! Use a 1/2 inch seam allowance unless otherwise specified.
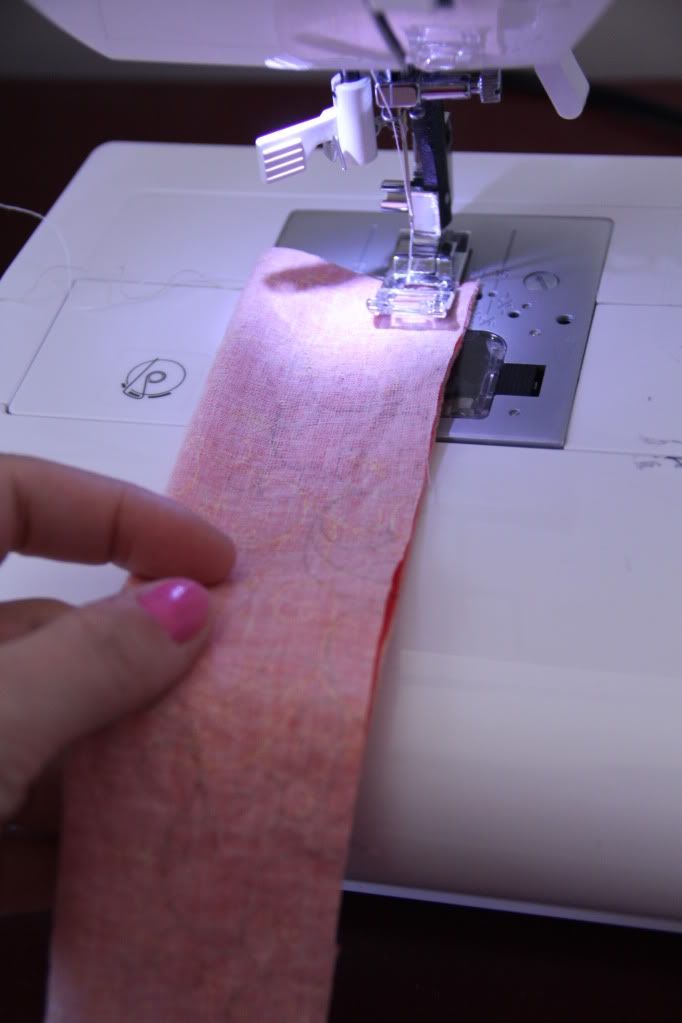
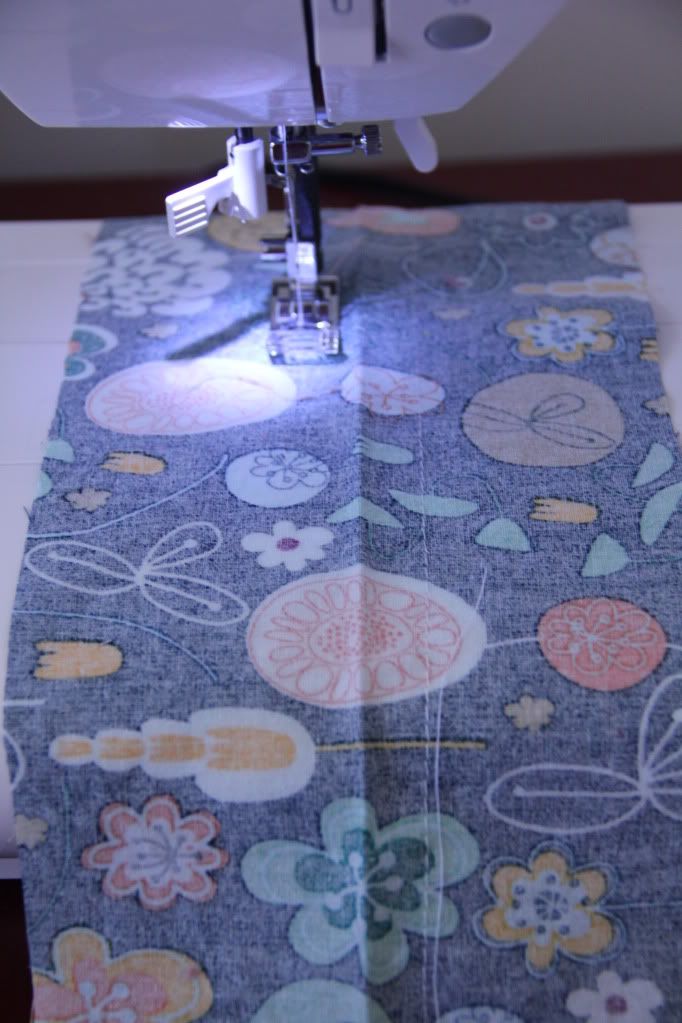
Take the front band piece (4"x 9") and sew the long ends with right sides of fabric together.
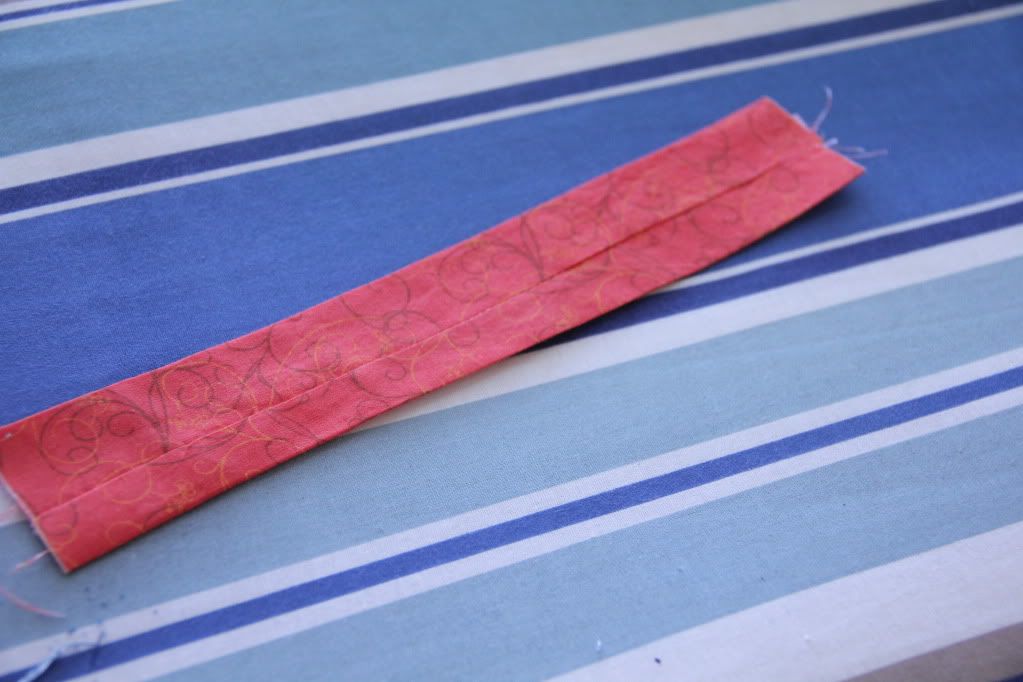
Turn inside out and press with the seam in the middle
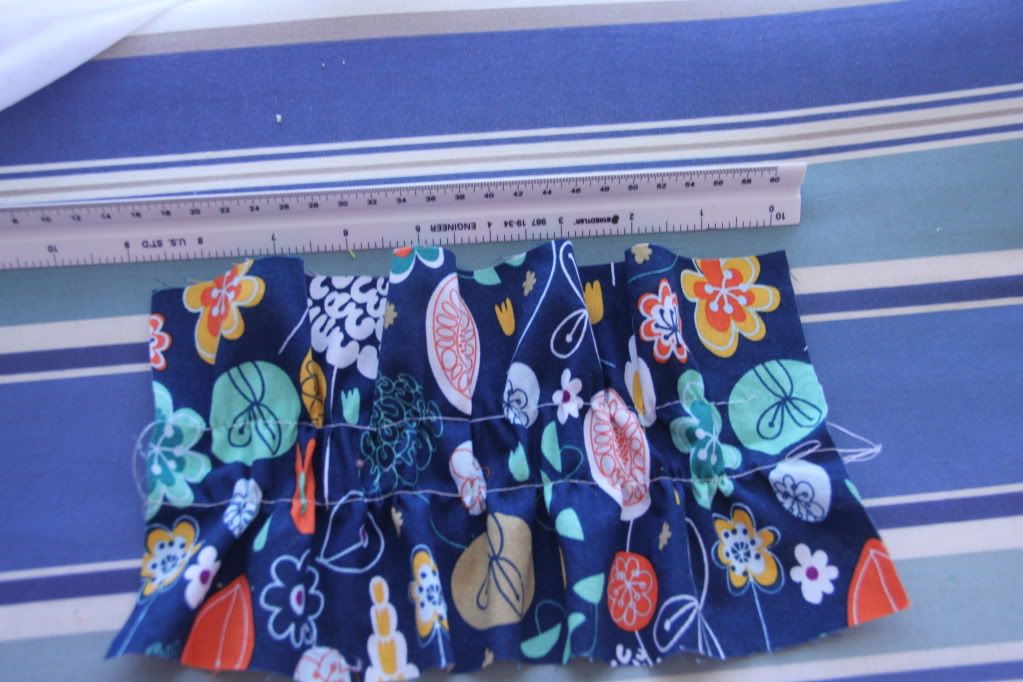
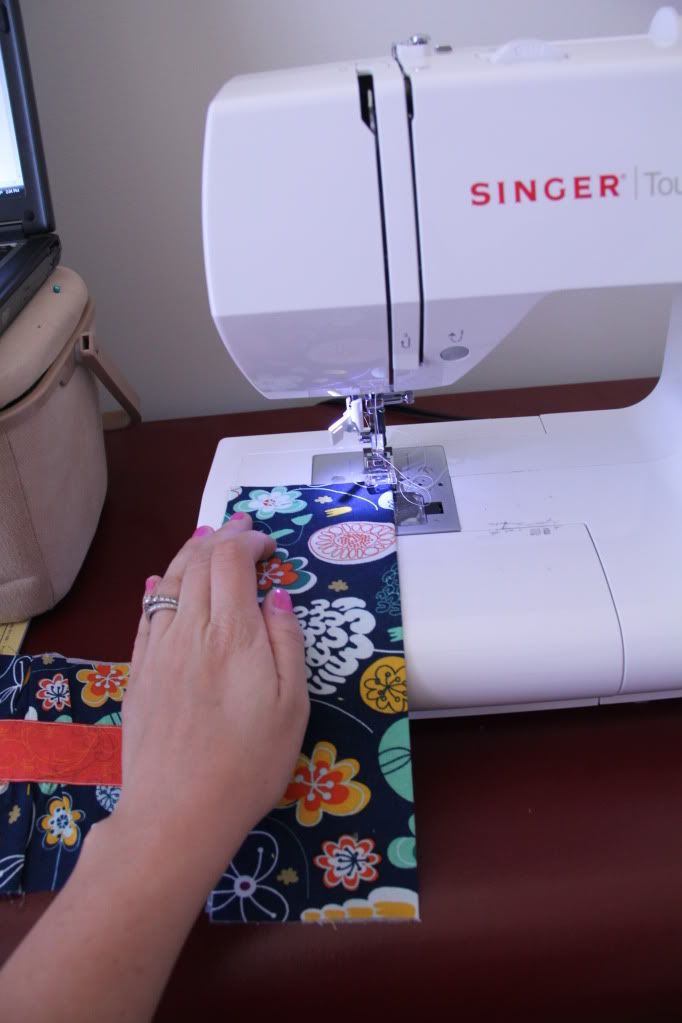
Take the main exterior piece (5.5x13) and sew two lines of gathering/basting stitches down the center about 1 inch apart
Gently pull the top gathering threads together and slowly work the gathers until the whole piece is 9 inches long. Press the gathers into place (aka: slam your iron down on the whole piece of fabric and you're good! Oh wait, I'm the only one sewing with a toddler pulling on my leg?)
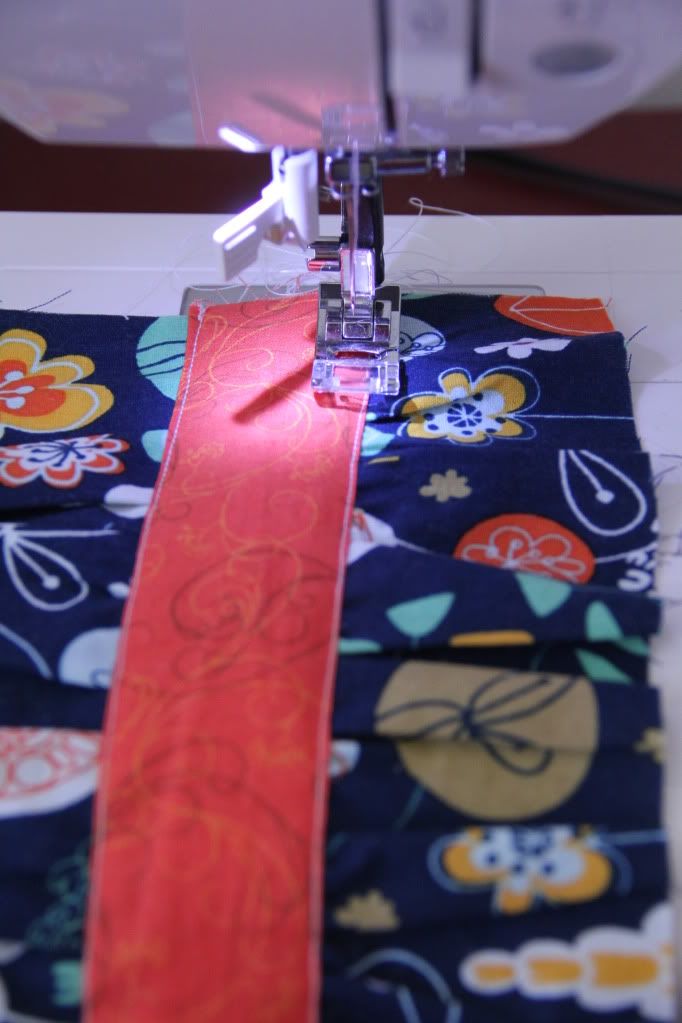
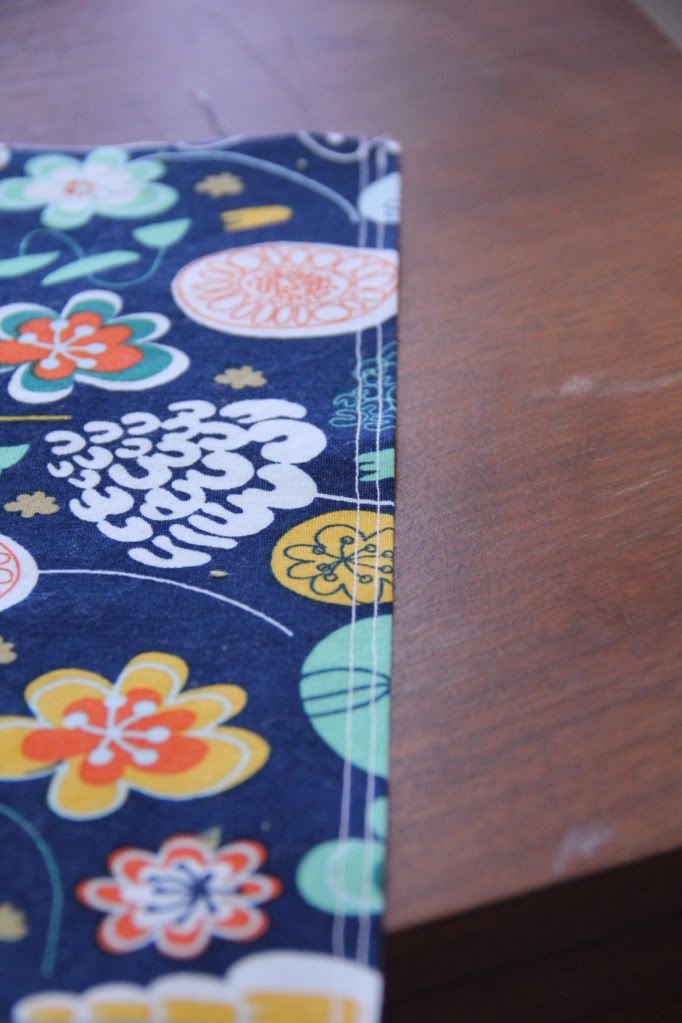
Take the front band piece and lay it down the center of the front main piece over the gathers. Topstitch (1/4" from the edge) along each side of the band.
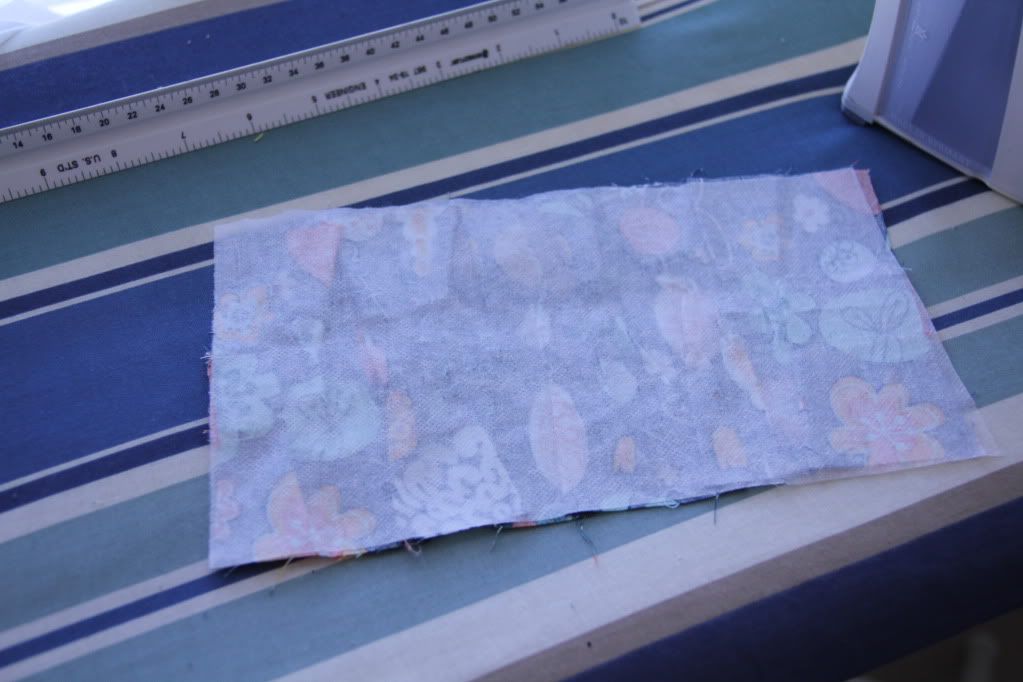
Iron the 5.5 by 9 inch piece of interfacing to the wrong side of the front piece. This will hold it all in place.
To make the optional card holder:
Apply interfacing to half of the piece and fold it in half with wrong sides together (so you end up with a 3.5x9 piece). Press.
Top stitch along the folded edge. Top stitch a second line under your first line.
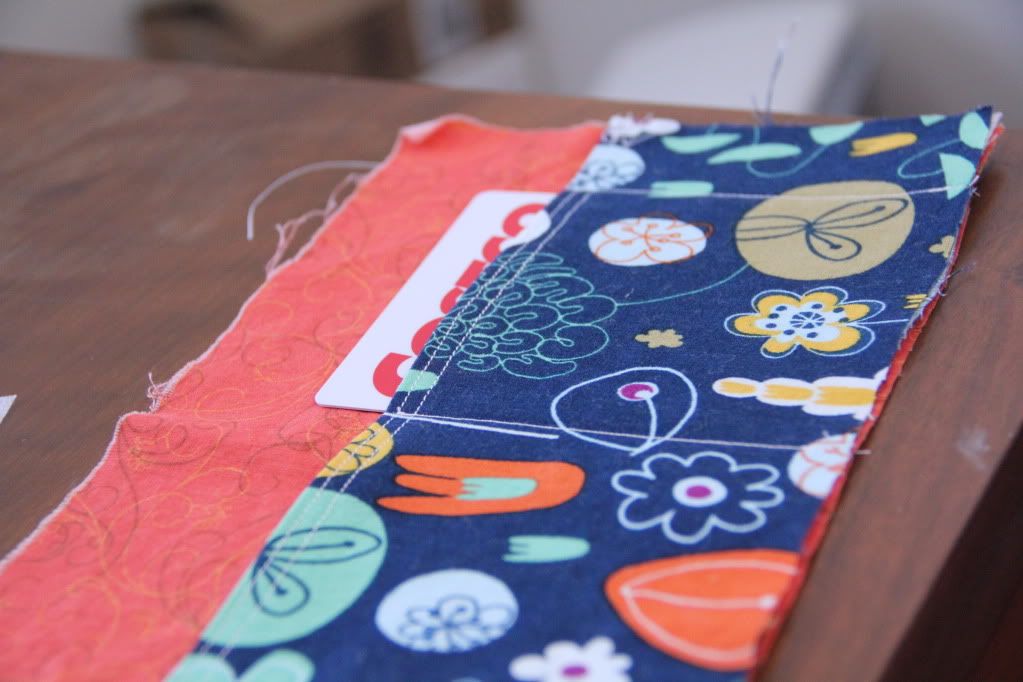
Take one piece of lining fabric and lay your card holder fabric with raw edges together and pin. Sew a seam down the middle of the card holder piece.
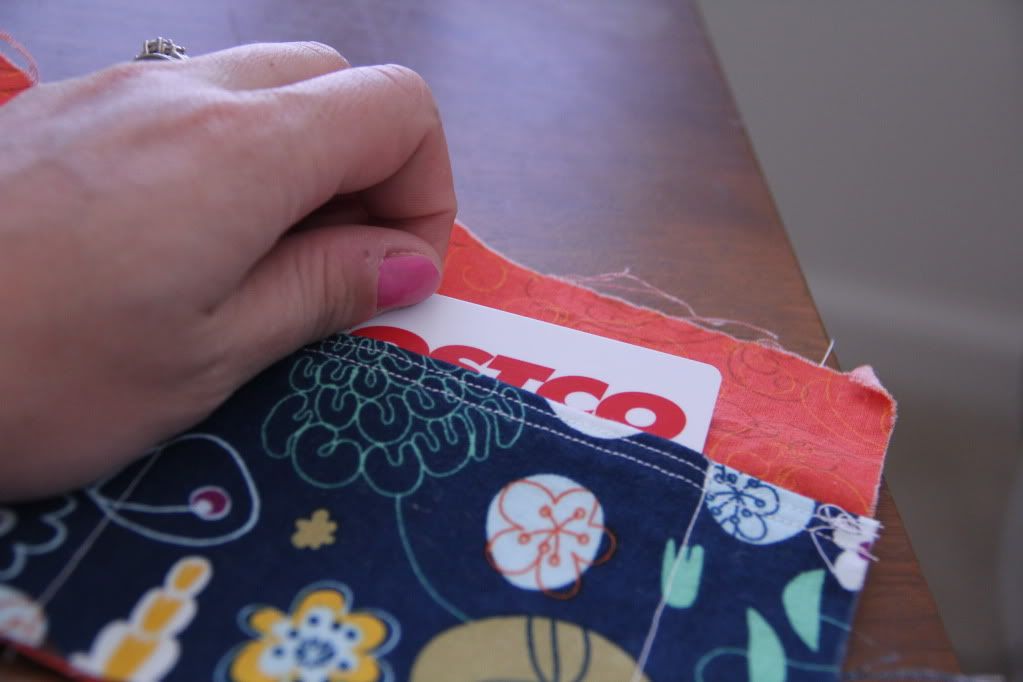
Grab one of your credit cards and use it to measure your card 'pockets'. You can decide how tight you want to make them. I like them pretty tight so they won't fall out. Mark the edge and sew a line down the sides to create a pocket. Decide how 'high' out of the pocket you want the cards to sit and mark a line along the bottom of the card. Sew along that line to finish your pockets.
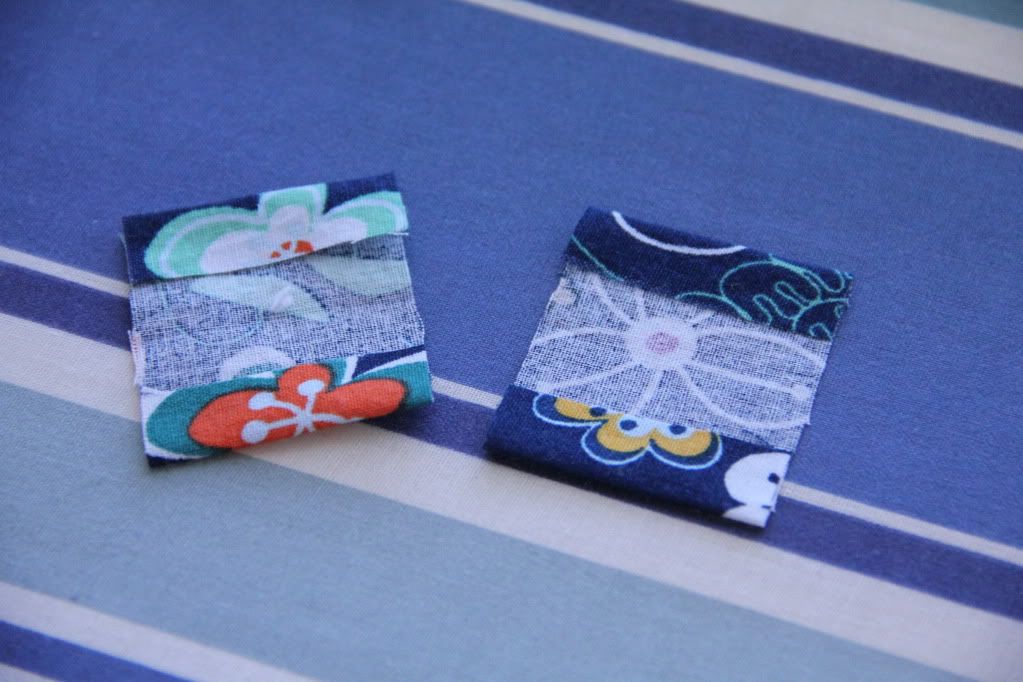
Fold your two small piece of zipper fabric in half width wise. Turn each raw edge in so that they meet in the center and press.
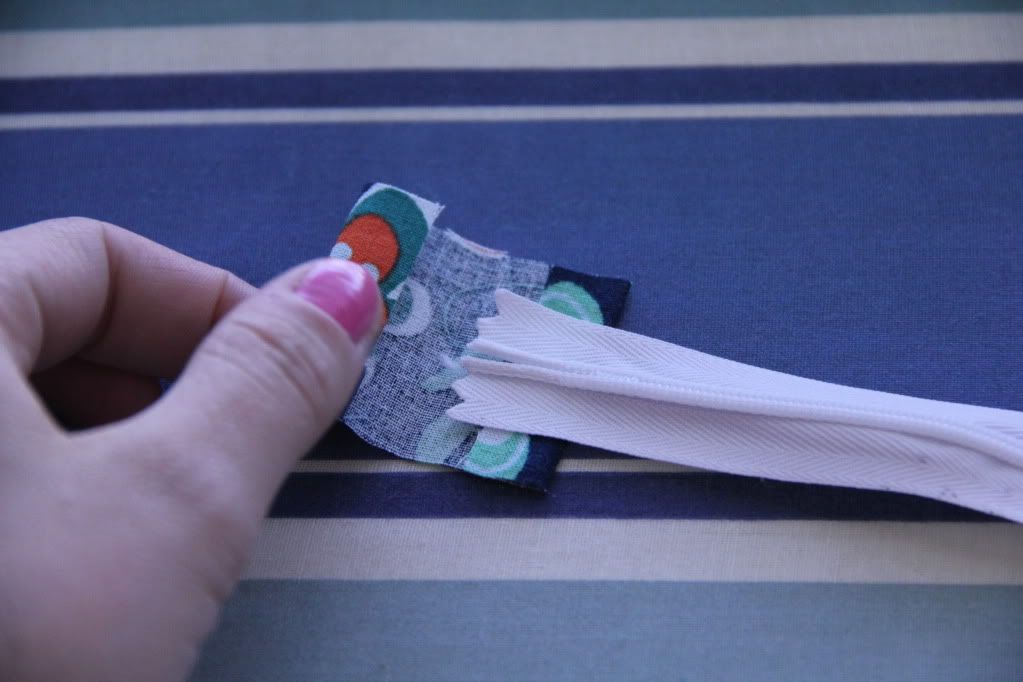
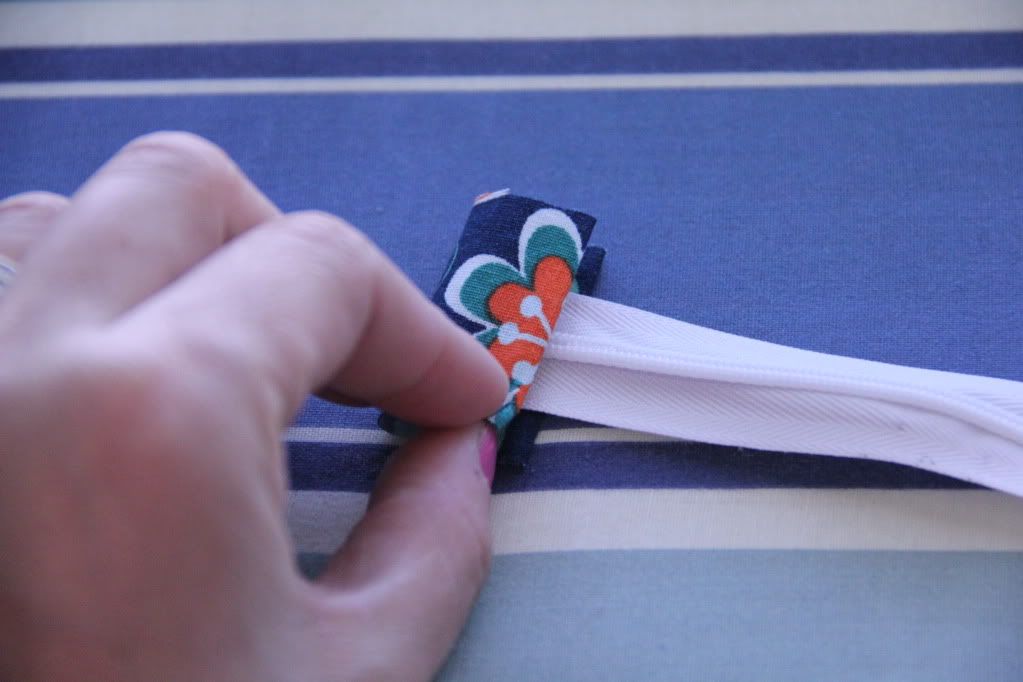
Sandwich the fabric around the ends of the zipper.
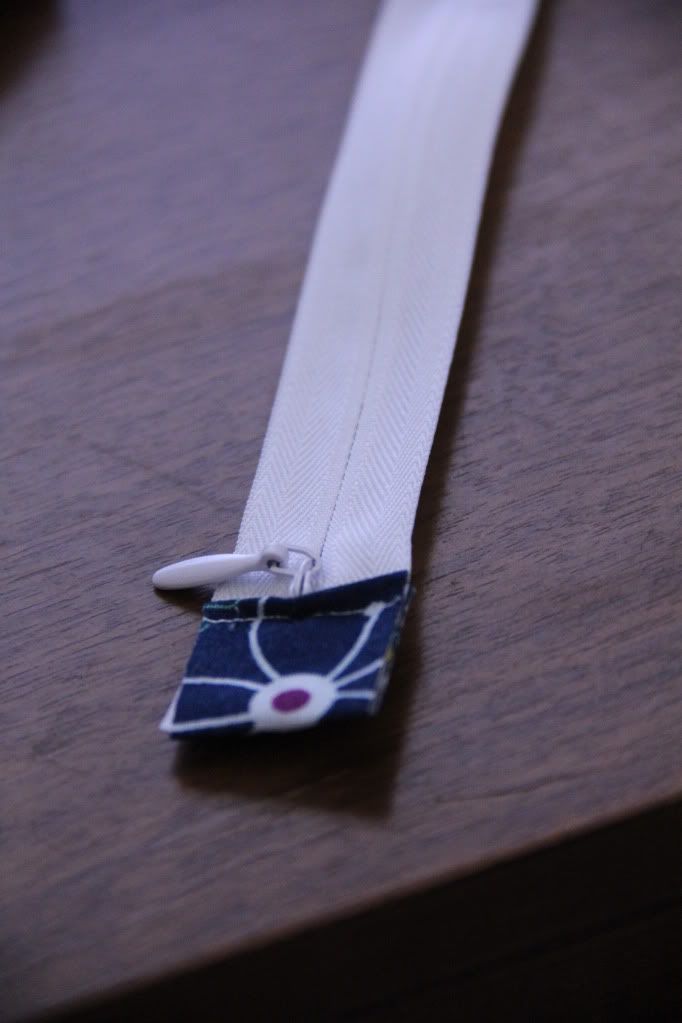
Topstitch straight across the zipper. THE LENGTH OF THE ZIPPER SHOULD MEASURE 8.5" FROM END TO END INCLUDING THE TABS. If you need to make adjustments to your zipper do so according to package directions.
Assembling the Clutch!
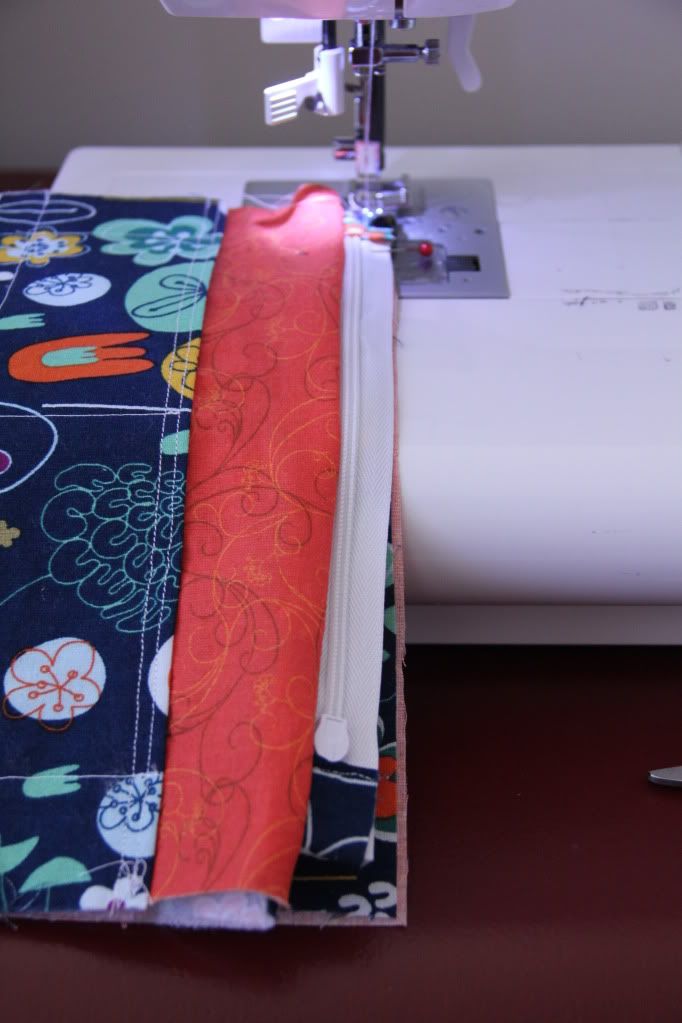
Place your gathered exterior piece right side up, put the zipper teeth side down with the pull tab to the left. Then put the lining piece with card holder wrong side up. (Right sides of fabric are touching.)
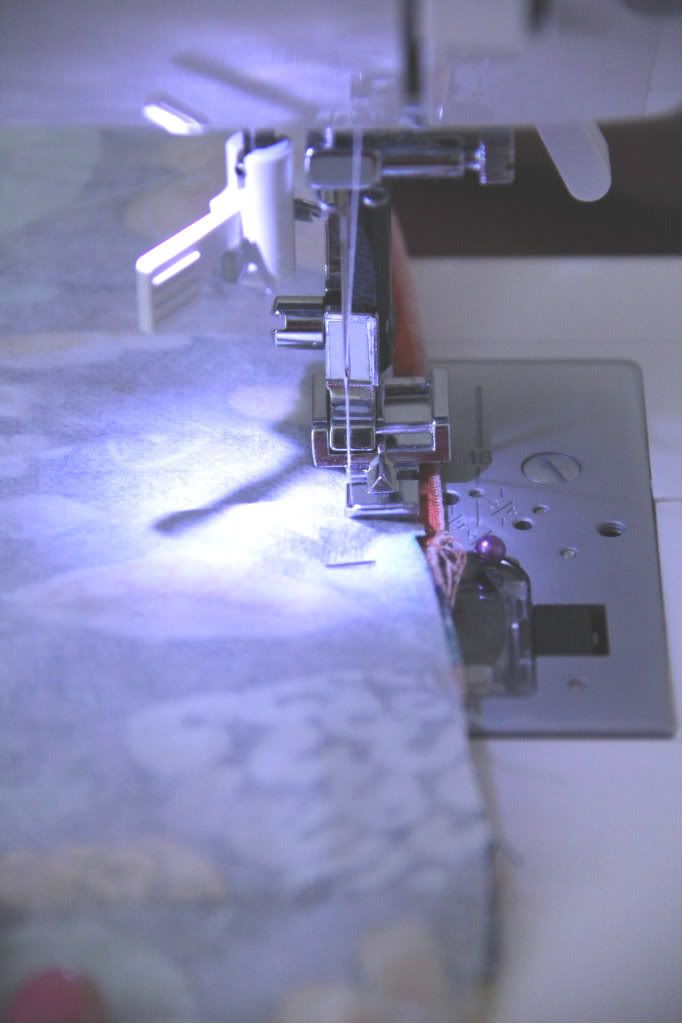
Using the zipper foot, sew along the edges of the 'zipper sandwich'.
Flip the pieces so the wrong sides are together.
Grab the other exterior piece and place it right side up. Put the zipper teeth side down with the pull tab on the right this time. Place the remaining lining piece wrong side up on top of the zipper. Pin in place, sew. Flip pieces with wrong sides together. Press! (I had it wrong in the picture above. My blank lining piece should be upside down and laying on top of the zipper!)
Now open it up and sew a line of topstitch down both lengths of the zipper (I also forgot to do this so you won't see it in any of these pictures. It just keeps the fabric from getting in the way of the zipper). It's starting to look kinda cute now, right?! Almost finished!
Open your zipper up halfway. Place the lining pieces with right sides together and the exterior pieces with right sides together.
Sew all around the edge with a 1/4" seam allowance and leaving a 2 inch opening on the lining side to turn your clutch right side out. (It helps to sew with a slightly larger seam allowance when going around the lining pieces.)
Turn the clutch right side out. Push the corners out. Stitch the opening in the lining closed with a small seam allowance.
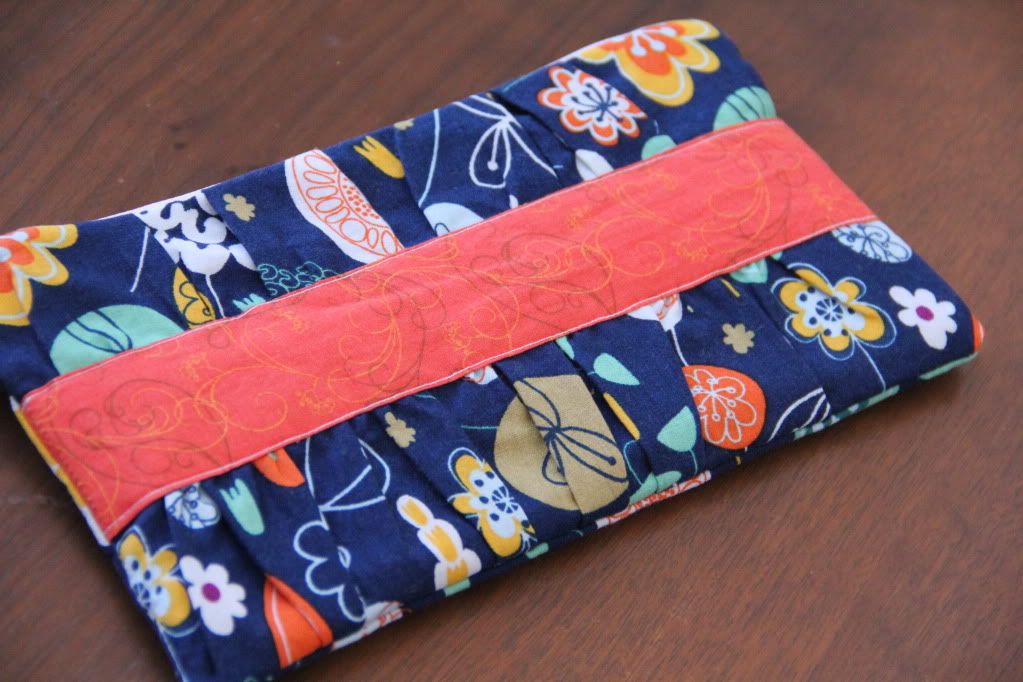
Tuck the lining into the clutch, press, and you're done! Thanks, Noodlehead, for the great tutorial!











That is super cute!!!
ReplyDeleteVery cute! Where are you going on vacation?
ReplyDeleteLesley